 Skip to content
How to Use an Auto Jump Starter Safely: A Step-by-Step Guide for Beginners
- by JFEGWO
Understanding Your Auto Jump Starter
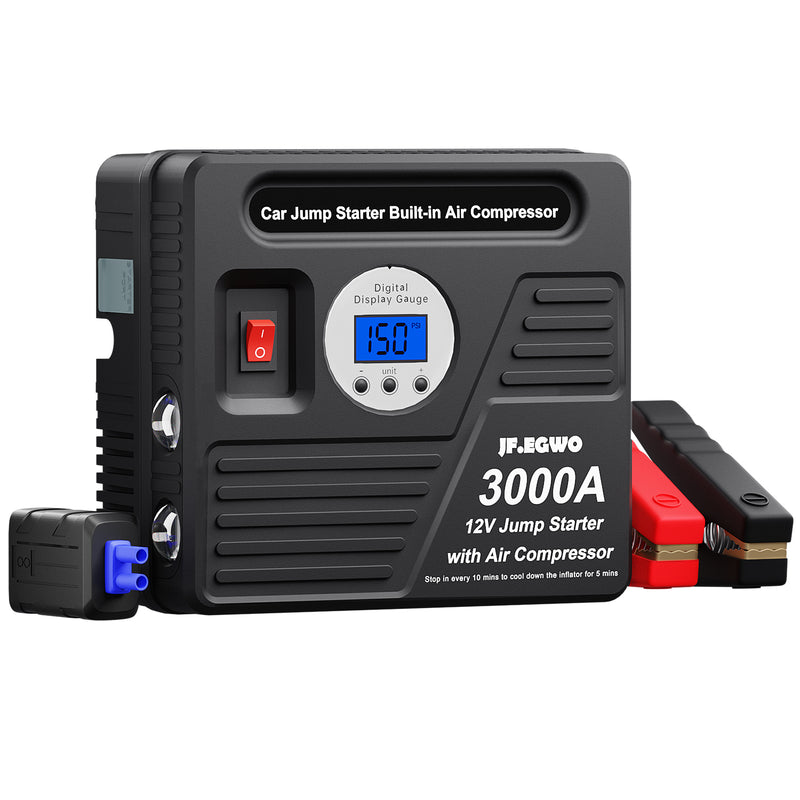
Before diving into the usage instructions, it’s crucial to understand the components of an auto jump starter. Most models come equipped with:
· Jump Start Cables: These are typically color-coded—red for positive and black for negative.
· Power Button: This activates the device.
· USB Ports: For charging devices like phones and tablets.
· LED Flashlight: A handy feature for emergencies.
Now that you’re familiar with the components, let’s proceed with the step-by-step guide.
Step-by-Step Guide to Using an Auto Jump Starter

Step 1: Prepare Your Auto Jump Starter
1. Charge the Device: Ensure your jump starter is fully charged before use. Regular charging will keep it ready for emergencies.
2. Check the Cables: Inspect the jump start cables for any damage, ensuring they are in good working condition.
Step 2: Position Your Vehicles
1. Park the Vehicles: If possible, park the vehicles close enough so that the jump starter cables can reach both batteries comfortably.
2. Turn Off All Electronics: Make sure both vehicles are turned off, and all electronics are disabled to avoid surges.
Step 3: Connect the Jump Starter
1. Attach the Red Clamp: Connect the red (positive) clamp to the positive terminal of the dead battery. The terminal is usually marked with a “+” symbol.
2. Attach the Black Clamp: Connect the black (negative) clamp to the negative terminal of the dead battery, marked with a “-” symbol.
3. Connect the Other End: Connect the other end of the black clamp to a metal surface or an unpainted part of the engine block on the vehicle with the dead battery. This acts as a ground.

Step 4: Start the Vehicle
1. Turn On the Jump Starter: Press the power button to activate the jump starter.
2. Start the Engine: Attempt to start the vehicle with the dead battery. If it doesn't start within a few seconds, wait a minute before trying again.
Step 5: Disconnect the Cables
1. Remove the Black Clamp: Start by removing the black clamp from the grounded metal surface, followed by removing the black clamp from the battery.
2. Remove the Red Clamp: Finally, detach the red clamp from the positive terminal of the battery.
3. Store the Jump Starter: Safely store the jump starter and cables in your vehicle for future use.
Safety Precautions
· Follow the Manufacturer’s Instructions: Always refer to the user manual for specific guidance related to your jump starter model.
· Avoid Sparks: Ensure that clamps do not touch each other or any metal surface during the process to prevent sparks.
· Monitor the Battery: If your vehicle does not start after several attempts, it may indicate a deeper issue with the battery or electrical system.

Conclusion: Be Prepared with JFEGWO
Having an auto jump starter can save you time and hassle during unexpected battery failures. By following these steps, you can use your jump starter safely and effectively. For high-quality auto jump starters that you can trust, explore the range of products offered by JFEGWO at www.jfegwo.com. Investing in reliable tools ensures you’re always prepared for the road ahead.
In summary, understanding how to use your auto jump starter is crucial for any vehicle owner. With the right knowledge and equipment, you can confidently tackle any battery-related emergencies.


